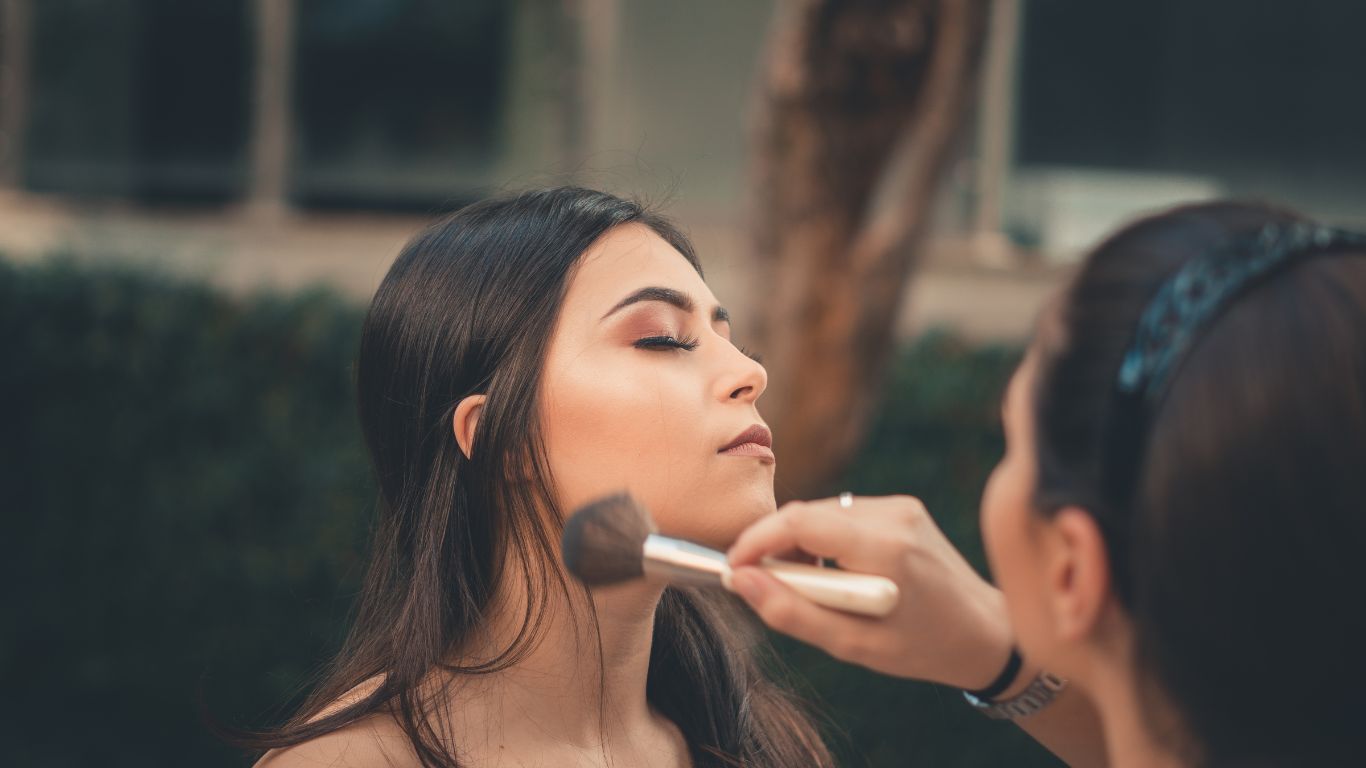
Hey, welcome to the softbloom.online. So today I’m going to be showing you how to choose the blush for your skin tone and undertone. I’m going to run through the different formulas of blushes. So it’s no secret that I am a blush lover. It is really painful to not have it on my face right now, but I really do believe that it just complements and elevates any makeup look. There is absolutely no right or wrong and if you’ve got a blush that you love and you think it works for you, keep doing you, I fully support you.
How to Choose Blush for Your Skin Tone
These are just some kind of rules or guides to use if you’re just lost with how to find your individual blush shade. Okay, so when we’re choosing the right blush shade for you, you first need to work out two things and that is your skin’s tone and your skin’s undertone. Now, if you’re not sure what they are.
So your skin tone refers to the amount of pigment that is visible on the outer layer of your skin and your undertone refers to the hue that shows through your skin. If you have a fair to light skin tone, some of my favorite blushes are light peaches, light pinks and light plums. Now you need to look at your undertone.
Light and Fair Skin Tone
So if you have a light to fair skin tone with a cool undertone, then you’re going to want to reach for blushes that also have a cool undertone so that they can complement your skin. If you have a light or fair skin tone with a warm undertone, then I would go for a warm light peachy shade as that is really complementary to your skin tone.
Medium Skin Tone
If you have a medium to tan skin tone, you are most likely going to have a warm undertone. So burnt peaches, rosy pinks, even golden based blushes are going to look amazing on your skin. They will really complement your natural undertone and they will just bring out a beautiful genuine flush to the skin.
Deep Skin Tone
If you have a deep skin tone, go for highly pigmented deep plums, berries and corals. They will give a beautiful flush to the skin and you will be loving your blush. If you want more of a bronzy look rather than an in-your-face blush look, go for a burnt or deep tangerine shade. It’ll give a beautiful glow to the skin and will look seamless.
So just wrapping up with that little segment on how to choose the right blush shade for you. Find out your undertone, work out your skin tone and then choose a blush that has the same undertone as your skin and then go for blush shades that will complement your own skin tone. Now there is actually one other way to work out which blush shade might be best for you.
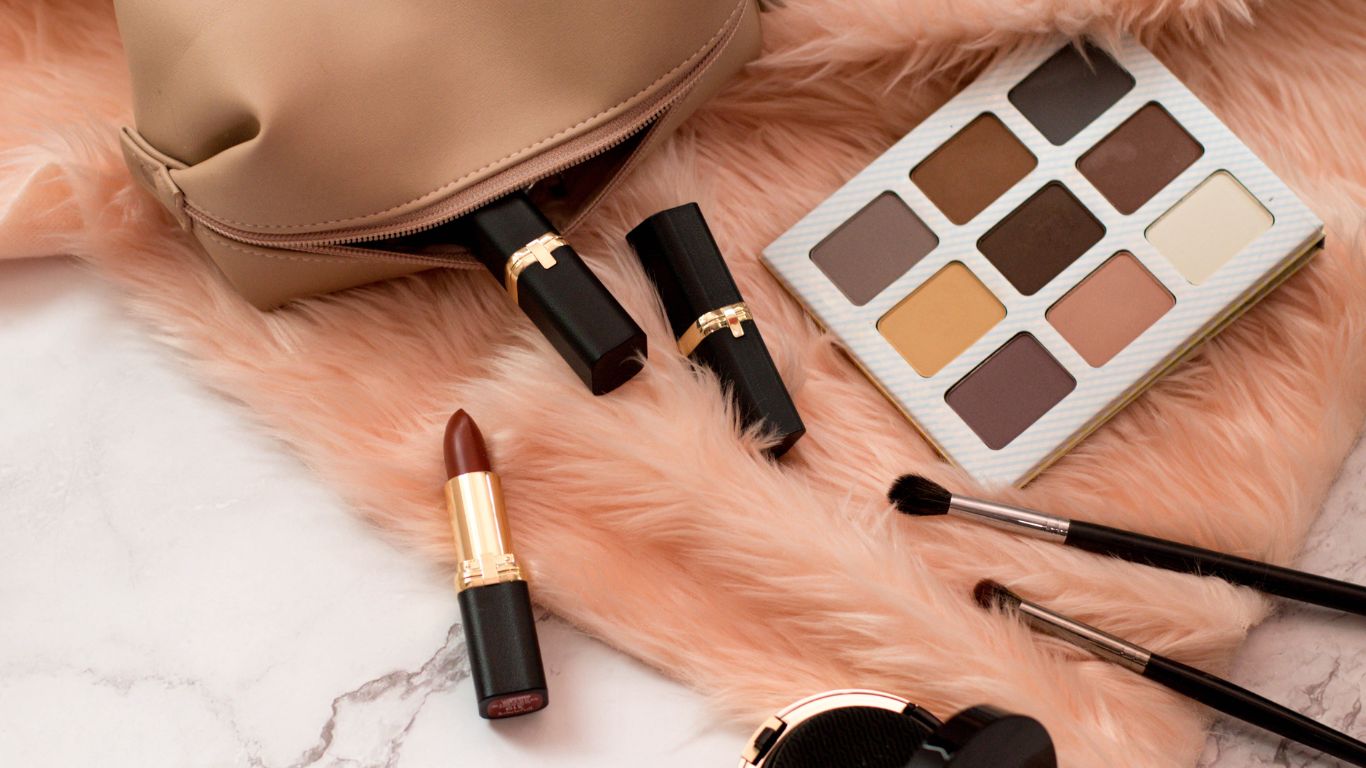
Blush With Lip Color
Look at your go-to lip color. So whichever lip color you think complements your skin tone and your undertone the best, you can actually use that as a blush as well. So just grab your favorite lippy, pop some of it onto a little brush shade like this and then you can just go straight into your cheeks with that as well.
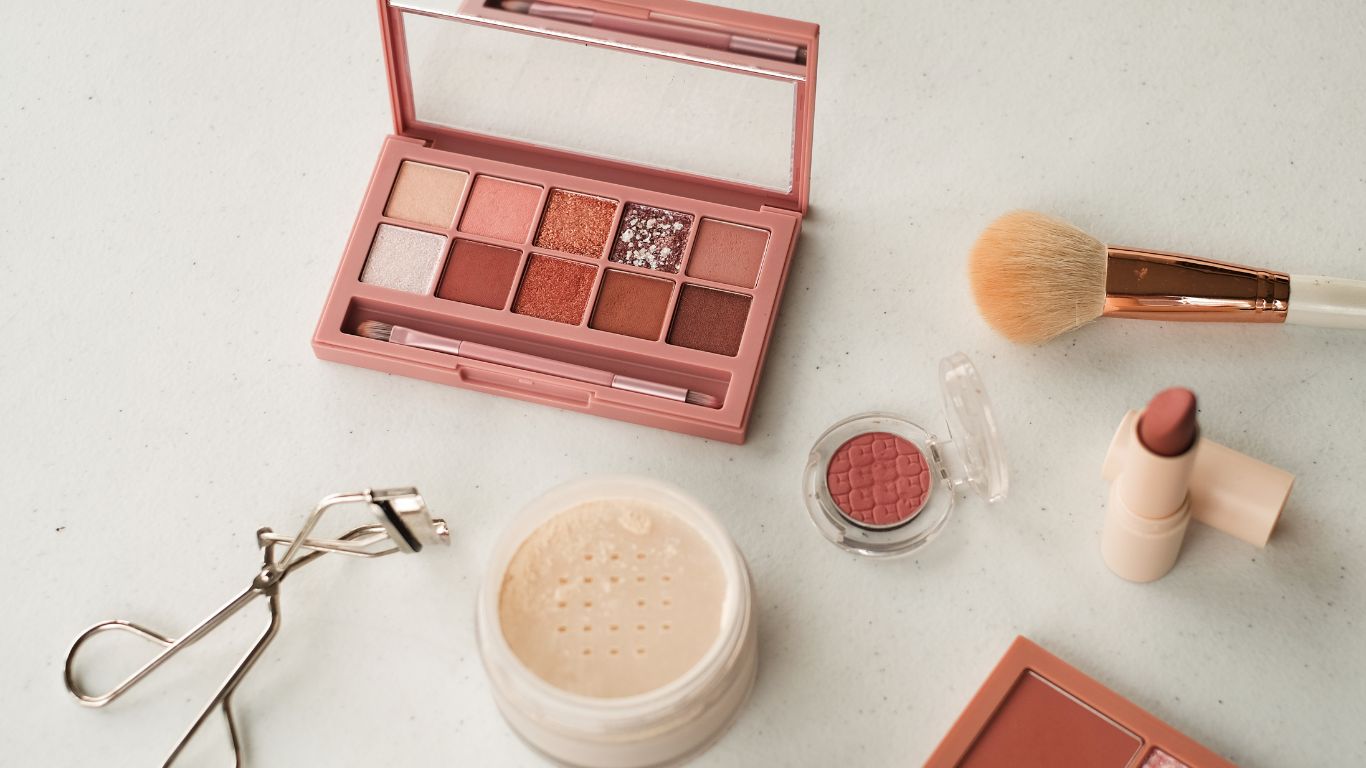
It is a cream product. So you can definitely tag team it onto your cheeks and then you’re creating a really nice uniform look between your cheeks and lips. Now, let’s move on to formulation of blushes because there are a few options out there and they can be a little bit confusing.

So the first one I’m going to talk through is a liquid blush. Now, this is basically something that comes in a tube usually or it might come in a little doe foot applicator. It is super pigmented and basically it’ll start off liquid and then you just work it in almost like a moisturizer that kind of formulation.
My favorite way to kind of use any cream or liquid blushes is to use a synthetic bristle brush. This one is from Real Techniques and it’s called the sculpting brush. So this is one of my all-time fav but that is a liquid blush.
Another example of a liquid blush shade would be Benetint by Benefit. So it’s really really highly pigmented but a little bit goes a really long way. So you can start off really small and then gradually build on that.
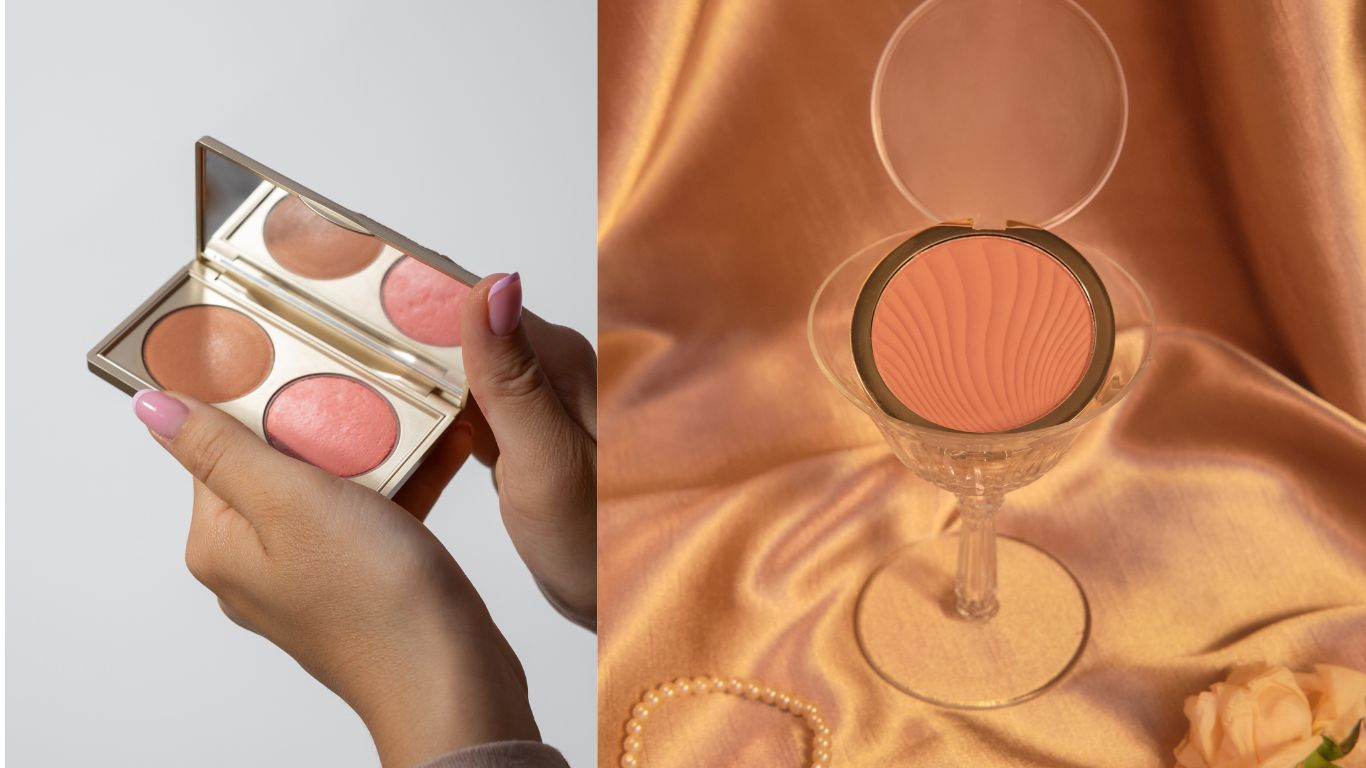
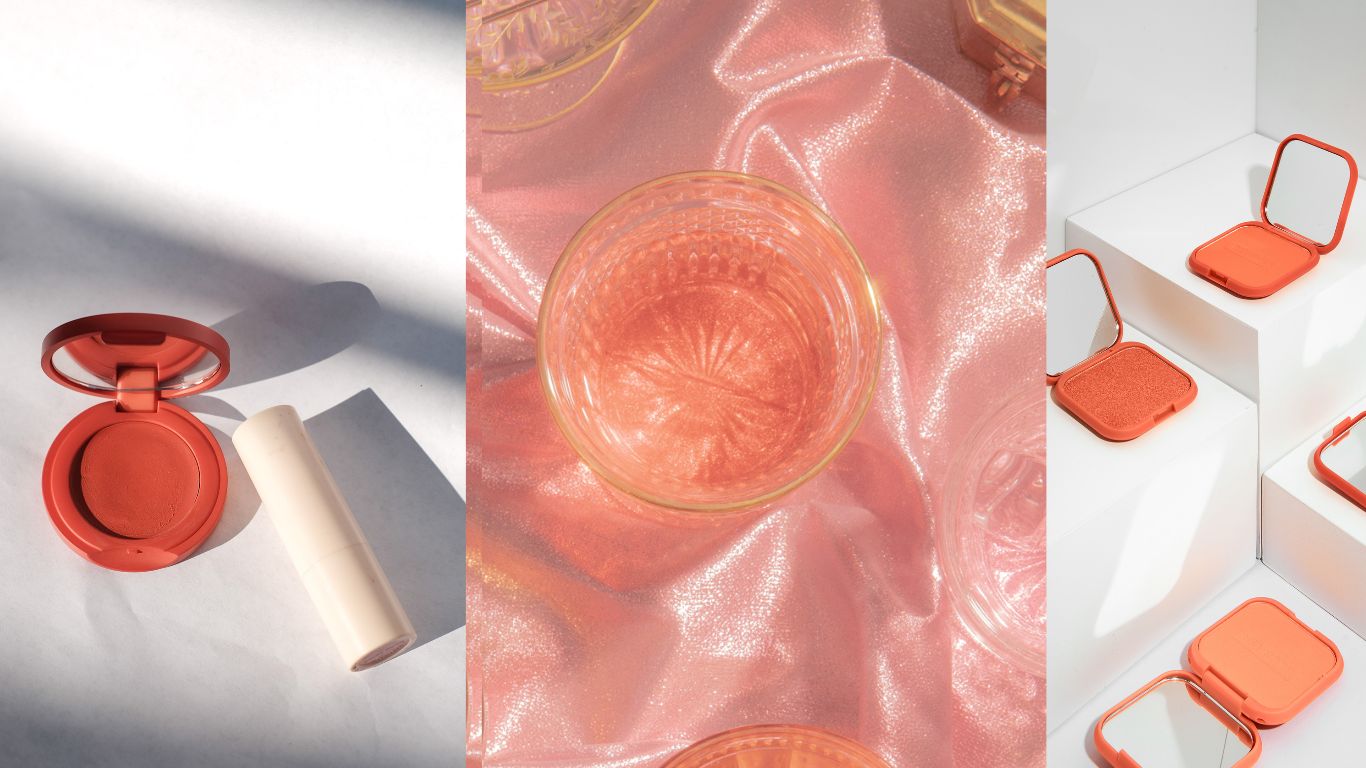
Another popular formulation of blushes is a cream blush. So this is an example of one here. This is the Anastasia Beverly Hills cream blush shade in the latte.
So this is a little bit more of a static formulation as opposed to your liquid blush, but it really is highly pigmented, super seamless on the skin as well. My favorite way to apply this as well is with a little brush like this. So you want a synthetic bristle brush or you can also use your fingers.
So you can apply your blush shade and then just kind of use the warmth of your fingers to melt the product into the skin. And the last formulation of blush is one that you’re probably pretty familiar with and that is just a powder blush. So this is the L’Oreal Life’s A Peach blush.
I love these, by the way. They’re so great. I’ve also got it in the watermelon shade here.
They’re so affordable, but they’re really really great. So this is just your normal powder blush. You just apply this with a nice fluffy brush.
Now, I know that you’re probably thinking yeah cool level the formulas, but what the hell is the difference between them all? It is just personal preference depending on which one you like. Cream and stick blushes can sometimes give a little bit more of a natural skin like finish. So they’re also really good for anyone that has normal to dehydrated skin.
They are quite nourishing because they’re hydrating and they’re a liquid slash cream formula. However, a powder formula would be great for anyone that has a really oily skin type that’s looking to almost set their cheek area with the powder blush or anyone that just likes more of a matte finish in their makeup. So liquids and creams will generally give you more of a skin like dewy finish whereas a powder will generally give you a little bit more of a matte finish.
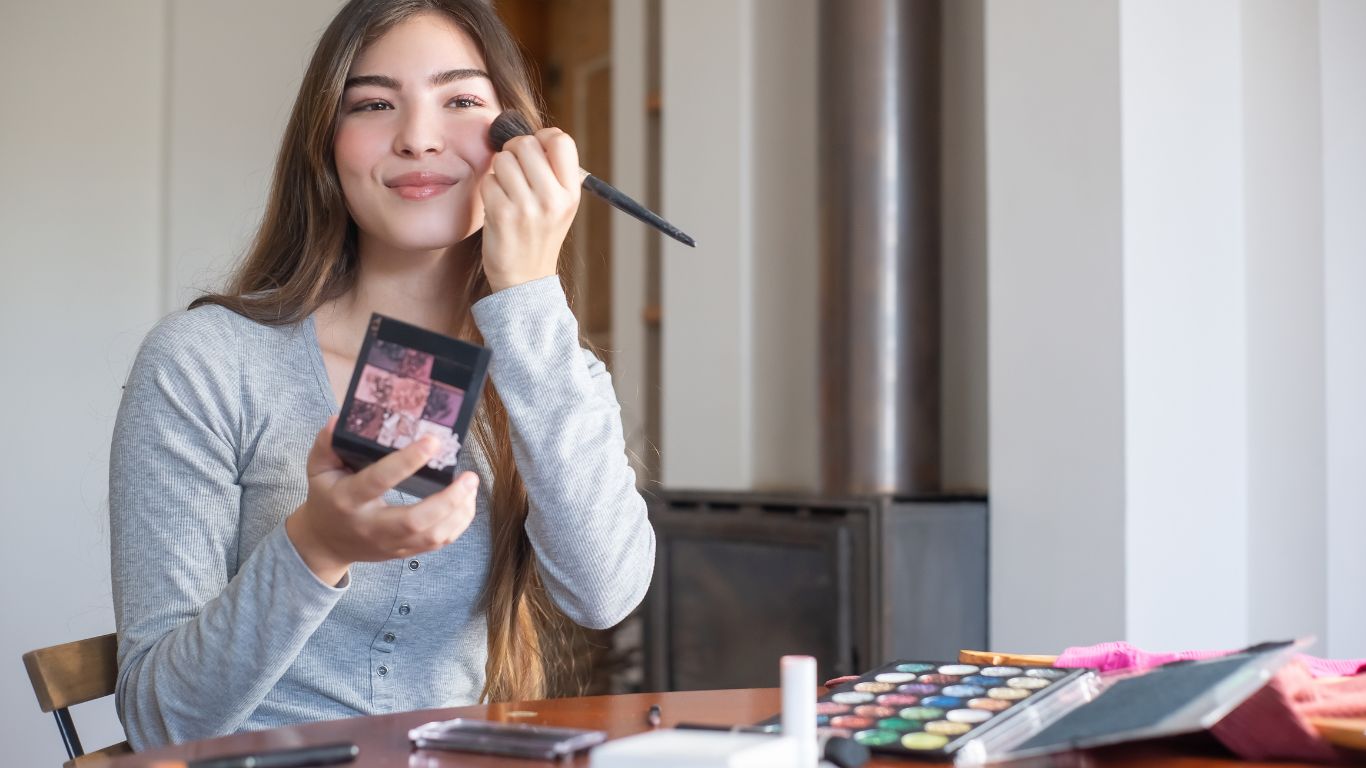
Okay now for the fun part and that is blush placement. I know that we have always been taught to do a little half smile and then apply our blush from here. But then when we stop smiling where we’ve applied the blush on the apples of our cheeks that actually goes down which is dragging our face downwards.
It’s creating the illusion of a face that’s being dragged downwards. So today I’m using the Anastasia Beverly Hills stick blush shade in latte. I’m just going to take that onto my brush.
Now with this stick blush you can just draw it straight onto the face but for the purposes of today I want to show you exactly the placement of the blush shade . You’re going to keep your face completely straight. So you’re not going to do your little smile and staring at your pupil and just on top of your cheekbone.
So around there you’re just going to press the blush into your skin and you’re going to move that upwards towards your temple area creating a really nice lifted effect on the face. So just starting from that center of your pupil just on top of your cheekbones and you’re just going to dab that upwards towards your temples creating a really nice little flush. Another area that I kind of like to apply blush to is just the bridge of my nose through the center there.
When I naturally flush so if I’ve gone for a walk or I’ve got embarrassed I do usually get a little flush on the nose. So I just find that it gives a really nice healthy glow to the skin and it is genuine and authentic to what my face usually produces. And as you can see that’s already applied to such a lifted effect.